|
|
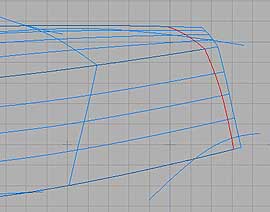
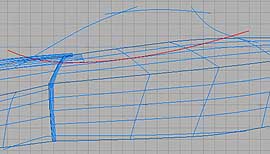
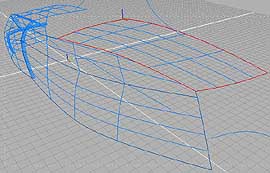
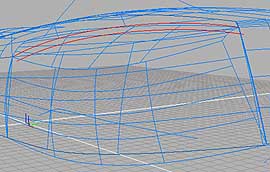
[11: Trim rear ends of SIDE surfaces] On Side view, trace rear corner line. Project it onto SIDE surfaces Set Perspective view so that the projected line
on SIDE surface looks almost straight. In front and behind of the projected line, create
parallel 2 straight lines that overlaps the projected line on the
view. Create Skin surface with these straight lines. Intersect with SIDE surfaces. Delete unnecessary parts of SIDE surfaces. Delete Skin surface. |
|
|
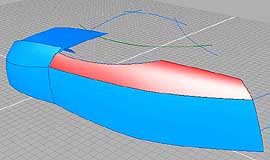
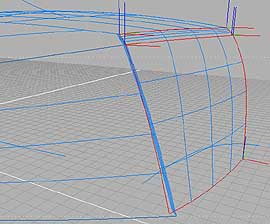
[12: Trim SIDE UPPER surface at window-cutting
line] On Side view, draw window-cutting line. Project it onto SIDE UPPER surface. Trim SIDE UPPER surface. Extract edge at the window-cutting line. Copy and Paste the edge to collapse its construction
tree, delete original. ->tips#4 |
 |
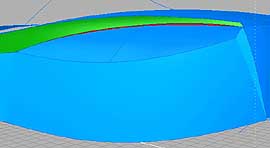
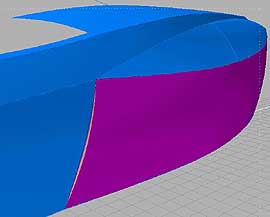
[13: create REAR TOP surface] Draw boundary curves. Front side corner of the
boundary should on the end point of the window cutting line. Create Coons surface. |
|
|
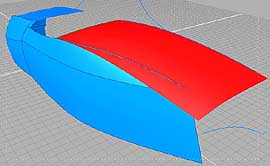
[14: rebuild REAR TOP surface] Intersect REAR TOP surface with SIDE UPPER surface. Delete unnecessary part of SIDE UPPER surface. On Top view, draw rear-cutting line. Start at the
rear top corner of SIDE UPPER surface. Translate it upward slightly.
Copy and Paste it, translate downward. Create Skin surface with these curves. Intersect the Skin surface with REAR TOP surface. Delete unnecessary part of REAR TOP surface. Extract side and rear edges of REAR TOP surface. Create Coons surface with the extracted edges.
Now your REAR TOP surface is not trimmed surface. This technique
is useful to simplify your model. Delete original REAR TOP surface and the Skin surface. |
 |
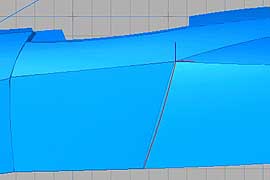
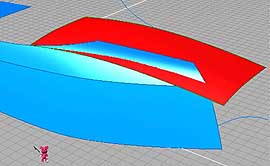
[15: create REAR RAMP surfaces] Extract edges at rear end of SIDE UPPER and LOWER
surfaces. Copy and Paste them, Translate them forward inside. Create Skin surfaces. |
|
|
[16: create REAR surfaces] Extract edges at rear end of REAR TOP surface.
Or draw new curve, modify it until it overlaps the edge. Usually
Extracted edges have more control points. When you use curves with
many control points to create a surface, the surface also has many
control points. (Ver3.5 has Simplify Surface tool.) Copy and Paste it twice, Translate them downward,
Scale them . Draw section curves. Create Coons surfaces. |
 |
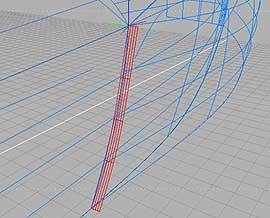
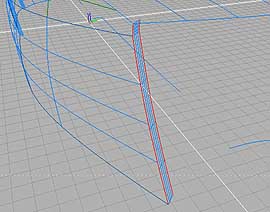
[17: create WINDOW-CUTTING surface] Copy and paste window-cutting edge of SIDE UPPER
surface, Translate it inside. Draw section curve, modify it until it overlaps
the REAR TOP section. (Ver3.5 has Break curve tool so that we can
create this kind of curves much easier.) Create Birail surface. |
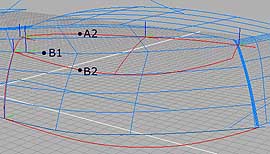 |
[18: create REAR FENDER UPPER and LOWER surfaces] Draw section and rail curves. The center rail curve
(B2) should be started on SIDE UPPER and LOWER intersection line
(B1). The top rail curve (A2) should be finished on B1. Create Birail, Coons, or Curves network surfaces. |
|
|
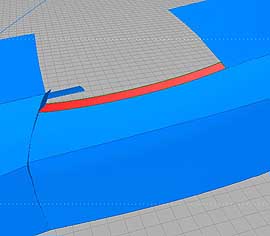
[19: create REAR FENDER RAMP surface] On Side view, shade your model to see SIDE UPPER
and REAR FENDER UPPER intersection line. Draw projection curve.
Start at the front end of B2, draw curve slightly above the intersection
line, finish at the rear end of A2. Trim SIDE UPPER surface with
this projection curve, open Modeling Tool to set Projection direction
to Y axis. Extract edge of projection curve on SIDE UPPER
surface. Copy and Paste it, Translate it downward inside. Create Skin surface. |
|
|
[20: create REAR FENDER PARTING surface] On Side view, draw a curve to cut REAR FENDER LOWER
at its front end. Start at the front end of B2. Modify the curve on Rear view to make the curve
inside of REAR FENDER LOWER surface. Copy and Paste the curve, and Translate it outside. Create Skin surface with the curves. Intersect REAR FENDER LOWER with the Skin surface. Delete unnecessary parts of REAR FENDER LOWER and REAR FENDER PARTING surfaces. |