NURBS modeling basics
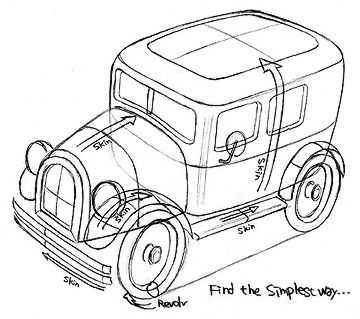
1. Draw image sketches or prepare pictures of the car. Any sketch will do as long as you like that !
2. Draw side, front, rear and top view drawings. Graph paper will help you. You do more precisely, later processes become easier.
3. Curves and surfaces. There are several methods to generate surfaces (fig.1). If you don't want to have sharp edges in the center, curves should be like fig.2.
fig.1 fig.2
fig.2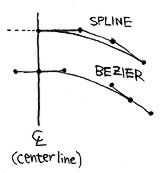
4. Build a body. The most important thing is to construct a maser plan BEFORE you start modeling.
a: Industrial Design method. Generate surfaces, intersect each other, and trim extra parts (fig.3). This is the best way to generate beautiful surfaces. Though, you can't control edge lines (intersection lines) directly. Also I don't really recomend this for animation projects, because usually trimmed surfaces require longer rendering time. You can rebuild surfaces using intersection lines that you got (fig.4b).
b: Edge line method. Make edge lines (character lines), section lines, and generate surfaces (fig.4b). In this case, especially it is important to plan well on your side, front, rear and top view drawings.
c: Easier way... Make section lines, and generate surfaces (fig.4c). Easy to generate, hard to control. You can reduce round surfaces on the edges.
I usually model the left side of the car, then mirror-copy it to the right side (fig.5).
If you need round surfaces instead of sharp edges, start with bigger one (fig.5).
d: Use Primitives. Deform spheres, cubes, cylinders, cones... Boolean operations allows you to construct entire body very quickly (fig.6). This method is effective for rough models and geometric objects. I use rough models to make motions (fig.7), later replace them with high resolution models for final renderings (fig.8).
You should combine these methods to get the most efficient construction.
fig.3 fig.4
fig.4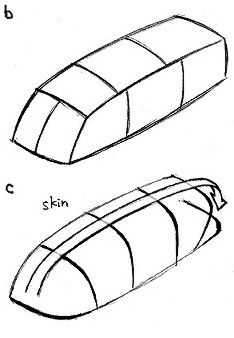
fig.5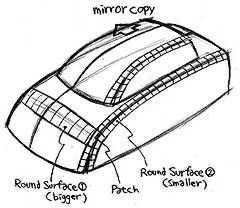 fig.6
fig.6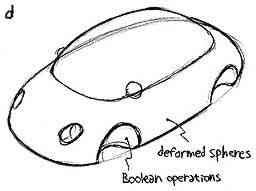
fig.7 fig.8
fig.8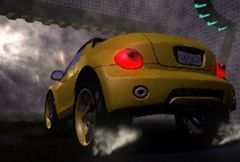
4. Add details. Wheel flares, headlights, windows... (fig.9)
fig.9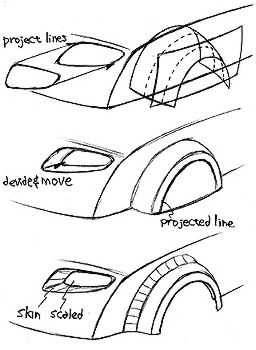
another sample